Hello friends,
third and final article dedicated to the measurement and correct exposure of photographs. After understanding the law of reciprocity and learn how to interpret the histogram It's finally time to explain step by step how to properly expose an image to obtain the most information possible. Want to know how?
 In recent weeks we have learned how to use the law of reciprocity to establish the basic parameters of our SLR camera depending on the scene to be photographed. We have also learned how to interpret the information our camera gives us after taking a photograph through the histogramBy checking the histogram we will know if the image is correctly exposed or if, on the contrary, it is necessary to change any of the basic parameters and repeat the measurement.
So, how do we properly expose a photograph?
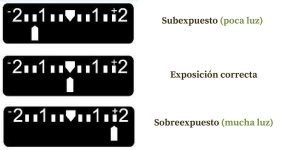 Today's SLR cameras come equipped with a photometer digital or exposure meter, which is responsible for measuring the light that the objects in the scene reflect and that falls on the sensor. automatic and semi-automatic modes of our cameras are programmed so that the light meter interpreter a gray average between the lightest and darkest tones in the scene, so when taking a photograph in one of these shooting modes, the light meter may indicate that the image is under- or overexposed when it actually isn't. This often occurs when taking photographs with high contrasts between light and dark areas.
Every teacher has his own little book, although perhaps the simplest way to measure correctly the light of the scene is to use the camera's manual mode and expose for the lightest tones.
Leaving aside the use of handheld light meters, I'm going to focus on the camera's digital light meter. As we've already mentioned, we'll set the camera's parameters to manual mode. Don't worry; after a little practice, you'll find it very simple and it will open up a world of possibilities for improving your photography.
Once the manual shooting mode and spot light metering have been selected, we have to find out the overexposure limit of our camera. It seems like a complicated concept, but once you understand it, you'll never have to do this step again. To find this limit, frame the scene, measure the light in the brightest area, and play with the basic parameters, combining them until the light meter reaches zero.
Then take the photo and check the histogram. Is it missing information on the right? Then take the same photo again, changing the basic parameters to slightly overexpose. Repeat this step several times until the histogram is perfectly right without losing information in the highlights. Write down and memorize the overexposure EV value for that last photo. This will be your camera's overexposure limit.
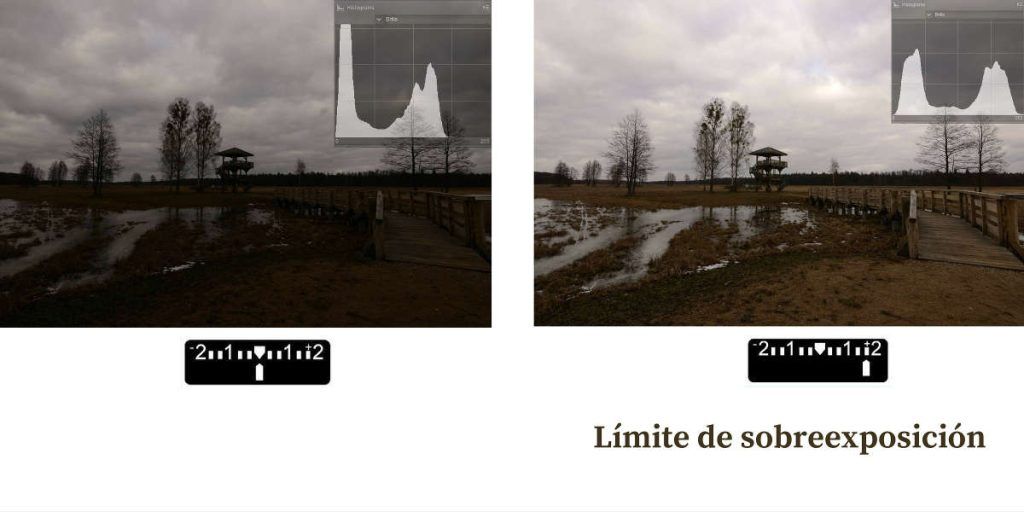
It sounds complicated, but I guarantee that after running a couple of tests and figuring out this limit, you'll never have to worry about under- or overexposed photos again. By memorizing this limit, you'll take correctly exposed photos the first time in the 99% case (we'll cover the 1% in future articles).
Here is the step-by-step sequence I use to expose correctly in manual mode:
 It may seem cumbersome, but I assure you that once you practice a couple of times, you'll get the hang of it and it will be very easy to take perfect photos the first time.
Friends, here ends the series dedicated to the measurement of the light in the scene and the correct exposure of our photographs. I hope these three articles help you understand how our SLR cameras work and improve your photography skills.
Greetings and happy weekend.