Hello friends,
Third and final installment of the triad of basic concepts in digital photography: after talking about the exposure time (or shutter speed) and the diaphragm opening Today we have to talk about the ISO sensitivity.
ISO sensitivity is a somewhat strange and difficult concept to explain, so we'll leave aside all the technical vocabulary and simply say that ISO sensitivity refers to the ability of a digital camera's sensor to digitally capture and amplify light.
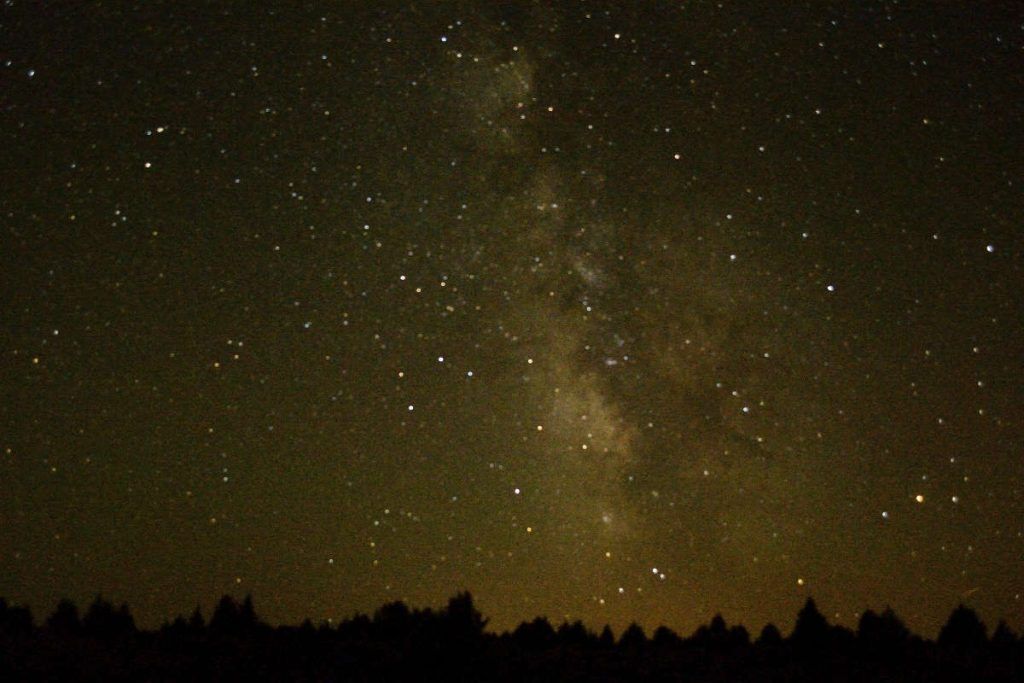
The photograph that opens this article was taken in the middle of the night, with the lens aperture wide open and an ISO of 1600. Even so, the equipment I used for this photograph is somewhat old, and the... noise at high sensitivities. That's why some stars appear in the image as huge points. If we zoom in on the image, we'll even see ""dirt"", grain.... like in those old photographs taken with film.
Like almost every term in digital photography, the concept of ISO sensitivity has its predecessor in analog photography. Do you remember that old film rolls were classified by their ASA sensitivityThe higher the ASA number, the greater the chemical sensitivity of the photographic film to light; that is, with a roll of ASA 400 we could take better photographs than with one of ASA 100, especially indoors, in cloudy weather, in low light, etc.
Today, ISO sensitivity is a term that refers to the electronic components of our photographic equipment (welcome to the digital age). Through mathematical algorithms, we can make our digital camera capture more or less light and immediately amplify that signal, that amount of light captured. And this, of course, affects our final image, especially in a fundamental parameter like exposure.

 Between these two photographs I took at a workshop on Japanese calligraphy (yes, friends, stranger things have happened), the only difference is the ISO setting. With the same aperture and exposure, the photograph on the left was taken at ISO 400, while the one on the right was taken at ISO 800. It's clear at a glance that the photo at ISO 400 is darker (although both are slightly underexposed).
Modern DSLR cameras have relatively wide ISO ranges, depending on the quality (and price) of the sensor. Ranges vary from ISO 100 (and even ISO 50) up to ISO 3200 (and equivalent values) for older sensors, to ranges reaching ISO 102,400 (and equivalent values exceeding ISO 3,200,000) for more expensive cameras like the Nikon D5 (sorry, but I'm a Nikon fan) 😉
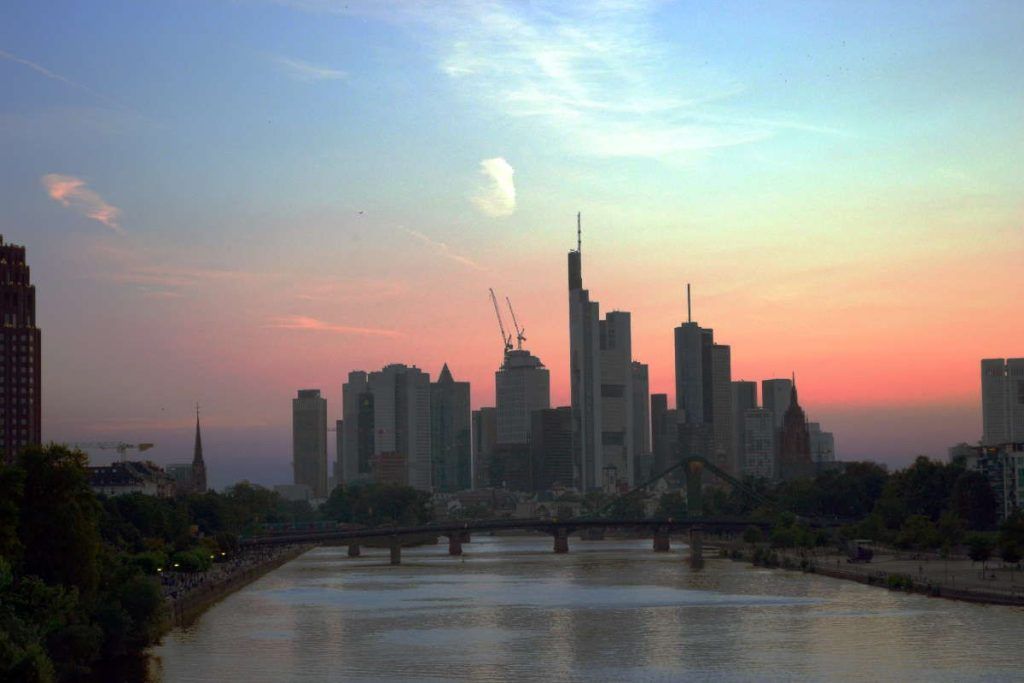
Another effect influenced by the ISO sensitivity of our camera, as I mentioned at the beginning of the article, is in the noise of our final image. The higher the ISO value we use, the greater the chance of getting noise in the image. Noise in digital photography is the equivalent of grain in analog photography. To give you an idea, here are some photos (taken at only ISO 800) that I'm not very proud of. The histogram says they're correctly exposed, but now I realize I could have reduced the ISO and increased the exposure time (with a tripod, of course) to eliminate the noise that's visible when you enlarge both images.
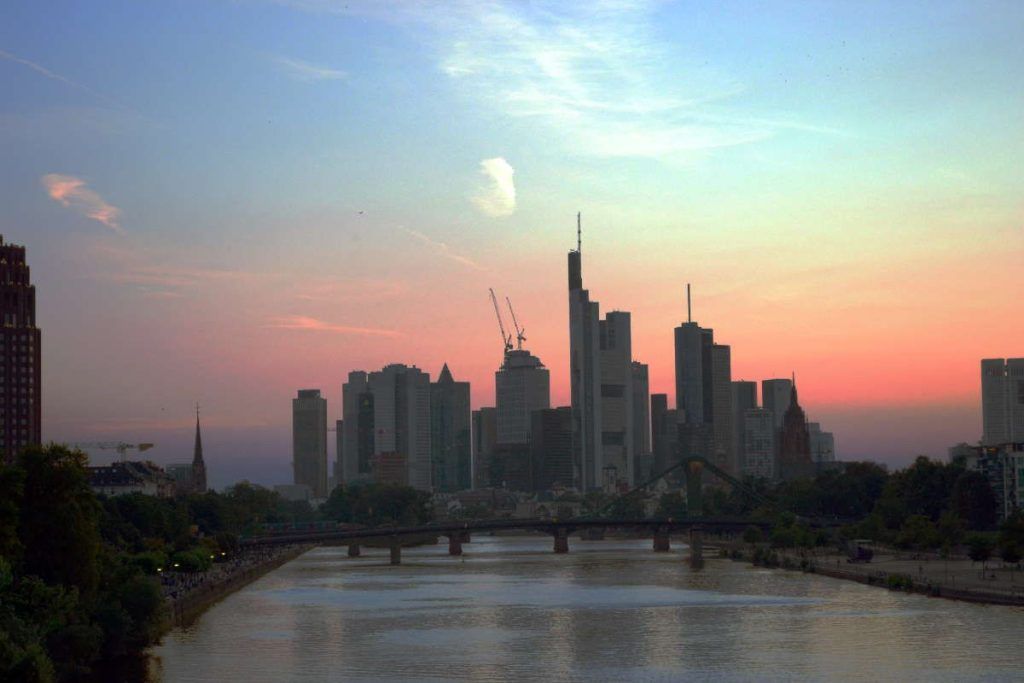
In this second image there was so much background noise that I took a small artistic liberty and transformed it using one of the HDR techniques which we have already discussed on the blog. The original photograph was taken in broad daylight at an ISO of 800.

As a general rule, it's always recommended to shoot with the lowest possible ISO settings. For example, if you're photographing a landscape on a sunny day, the recommended ISO is 100 (or even 50 if your camera allows it). But what happens in low light? What if you're photographing wild animals at dawn? Clearly, in those situations, you'll need to increase the ISO to allow your camera to capture more light, especially if you want a fast shutter speed to freeze the animal's movement.
 What happens if we're taking a nighttime photograph of the stars? We'll encounter the same problem: very little ambient light. So we'll have to push our digital equipment to its limits, open the aperture as wide as possible, increase the ISO sensitivity to the maximum, and experiment with different shutter speeds until we get the image we're happy with.
Therefore, to conclude this article, I'll bring up again the relationship between the three basic parameters of our camera: aperture, shutter speed, and ISO sensitivity. By working with these three parameters, we can gradually achieve higher-quality photographs with perfect exposure (if that's what we're aiming for).
Lately, photographic trends seem determined to make digital noise persona non grata. It's clear we can't exhibit one of our photographs enlarged to a meter or a meter and a half in a gallery if we can see noise and blemishes at the size of a computer screen. But it's also evident that some of the most exciting and impactful analog photographs based part of their success on that small amount of grain (noise) that gave them a vintage feel. Noise isn't our enemy, and sometimes it's even a great ally, as the folks at Xatakafoto show us in this [article/video/etc.]. link. Even so, the market advances almost monthly, offering new cameras with a better ISO/noise ratio.
Friends, in the next articles dedicated to learning basic concepts in photography I will talk about other secondary parameters (such as white balance) and auxiliary elements (such as filters) that we can take into account when photographing, and about how to use these elements to achieve greater drama or more artistic effects.
A hug for everyone!