Hello friends,
a few weeks ago Fotogario had the opportunity to take a photographic trip in search of aquatic birds and birds of prey. bird photography It's one of the most complicated techniques, not only because of the difficulty of photographing fast-moving animals, but also because the equipment we'll need is more expensive than a simple SLR camera with its basic lens. But that didn't deter us, and with a small 70-300mm zoom lens, we managed to get some great shots. Want to know how?
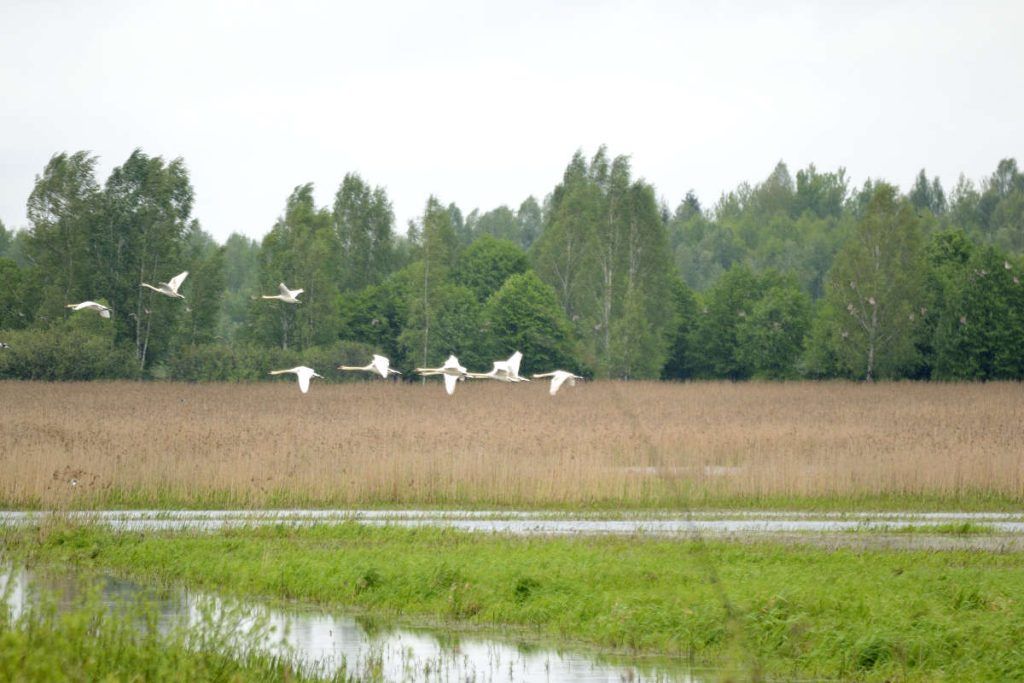
In this first image, we managed to capture a flock of wild swans landing. As the title of this article suggests, we're going to analyze a practical case, successes and mistakes, and give you some tips for photographing birds in flight without having to mortgage your house to do it. So, looking at this image, the first tip makes sense.
To photograph birds we will have to move to their natural habitat, this is logical. We can photograph birds in any park in our city, and we have the proof in this one articleBut if we want to see waterfowl and birds of prey, we'll have to go to a natural park, swamp, or marsh. These are places where we're more likely to find these birds.
Traveling to these natural parks is just the first step. Keep in mind that bird photography requires great patience and discipline. We'll need to remain in the same position for several hours, without making sudden movements, to avoid frightening our subjects. It's on these occasions that we need to consider where we'll be positioned, whether we'll be comfortable for several hours, etc. We also need to consider the weather conditions. Not only for our own safety, but also for the safety of our photography equipment.
 A basic and fundamental tip in any photographic discipline: Always focus on your subject's eyes. However, this tip isn't so easy to follow when your subject is moving quickly, is small, or is too far away.
A basic rule in photography is that the viewer of an image always tends to look for the eyes of the subject in that photograph, whether human or animal. Humans unconsciously focus on the eyes of the photographed subject.
Get used to using it continuous servo focus and choose spot focus whenever possible. Practice the different focus modes your camera offers and learn how to choose an appropriate focus mode based on the scene you're photographing.
In it previous article I already told you the basics of the basic focus modes of our SLR cameras. In the case of bird photography, we will use the continuous servo focus mode in most of our shots, as it allows us to focus on our subject when it's moving. Keeping this and the previous tips in mind, you'll see that things get more complicated: focusing on the eyes of a moving animal will be more difficult the smaller the animal, the farther away it is, and the faster it moves. We won't only find aquatic birds in marshes and swamps, but also small birds of prey, ospreys, and falcons.
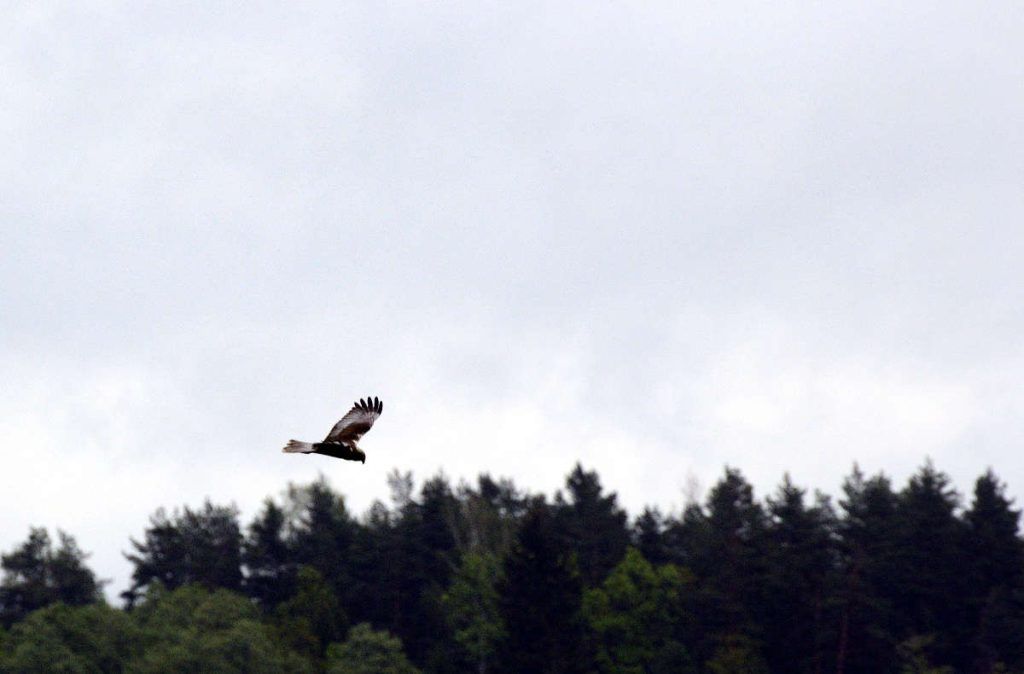
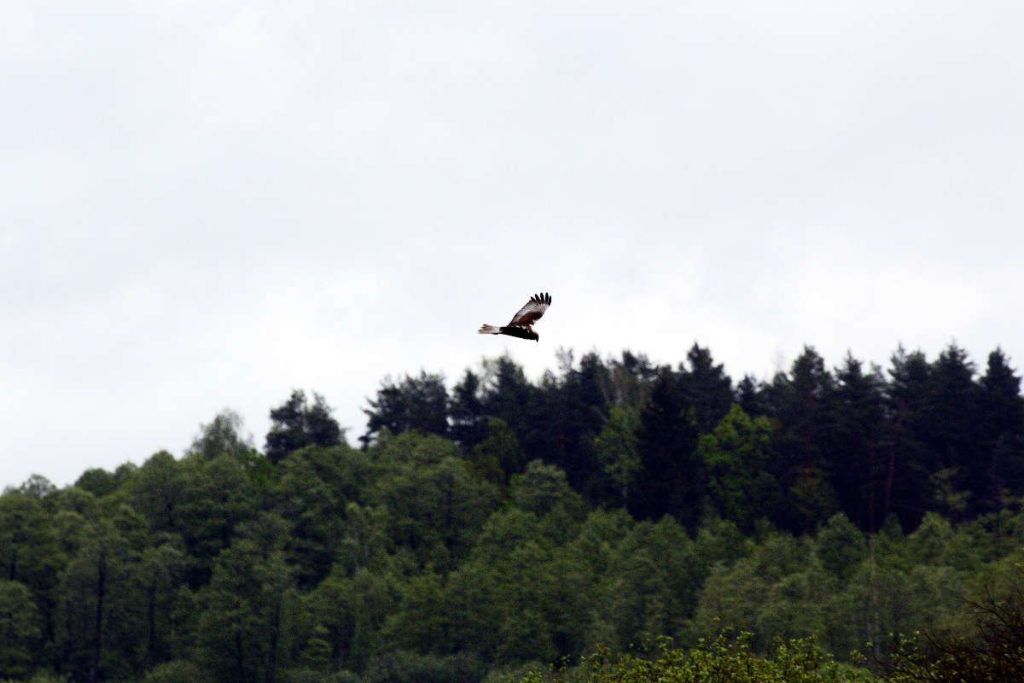
In my case, I really like the image I got of this common buzzard (Buteo buteo) or common buzzard. As you can see, we don't need large telephoto lenses to get beautiful images that reveal the details of these birds' plumage. If we zoom in, we can see the characteristic dark tone of the tips of the wing feathers and the white tone of the central part of the wing. They are medium-sized birds of prey found throughout Europe.
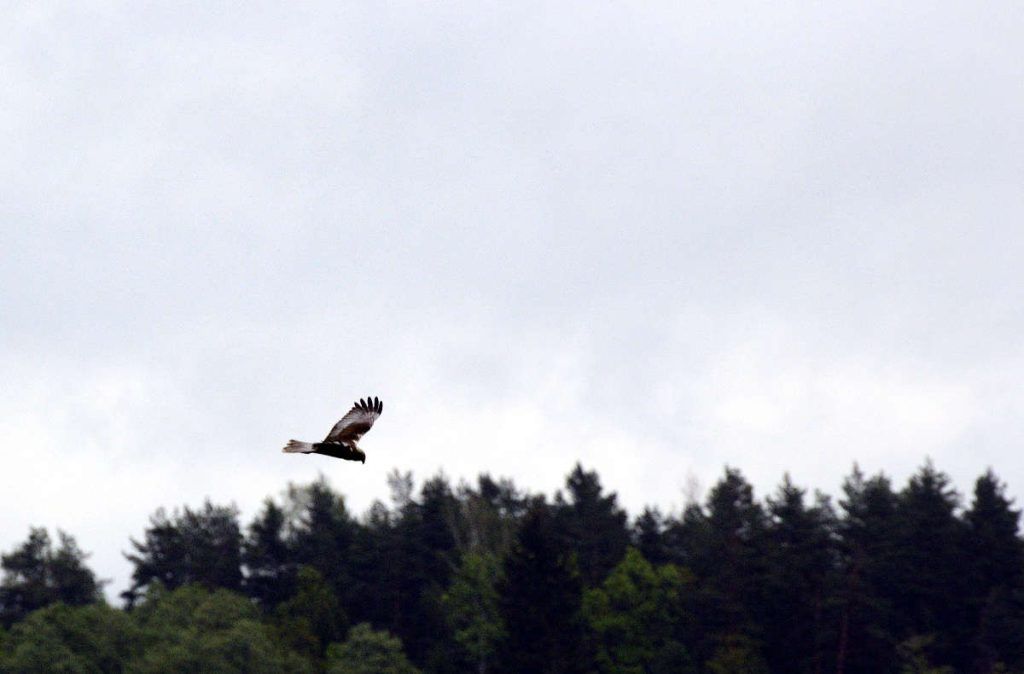
Another obvious tip. If we want to photograph moving, fast-moving, small, or elusive animals... why settle for a single snapshot of the moment? Unless we're older than the pasodoble, the obvious advantage of a digital camera over a film camera is that it offers burst shooting, which, depending on the camera model, can save the day. Why take a single action photo when we can take 8, 10, or even 14 photos per second?
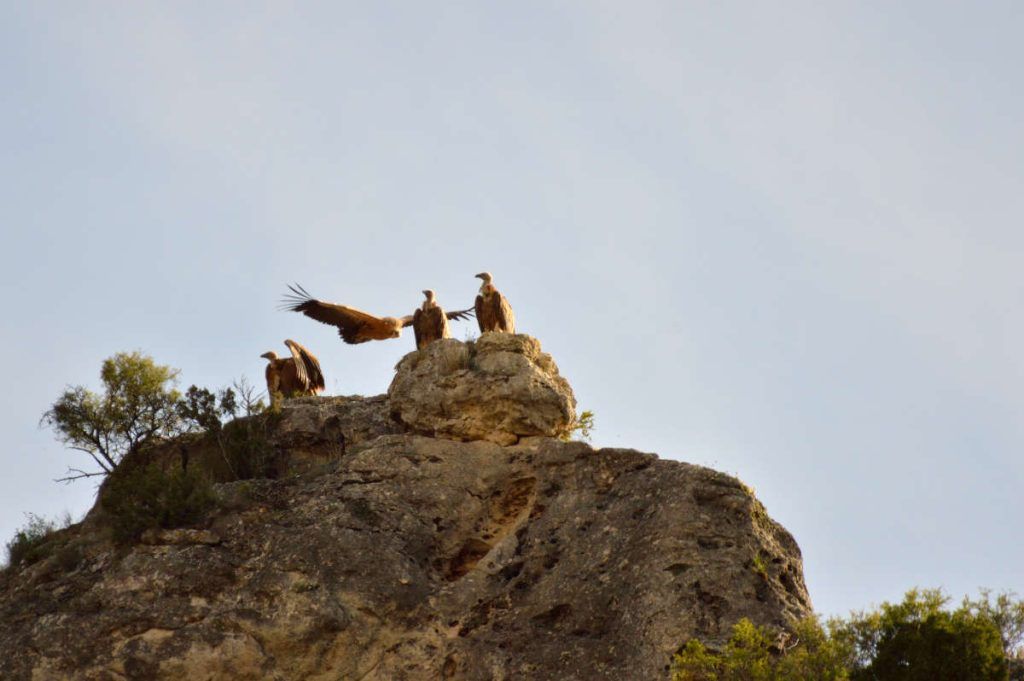
By shooting in burst mode and in continuous servo mode, we ensure that at least some of the images are in focus and that, with luck, it is the decisive moment, that peculiar gesture of the animal, a bird hunting its prey, taking off or landing... Have you already tried shooting in burst mode with your camera?
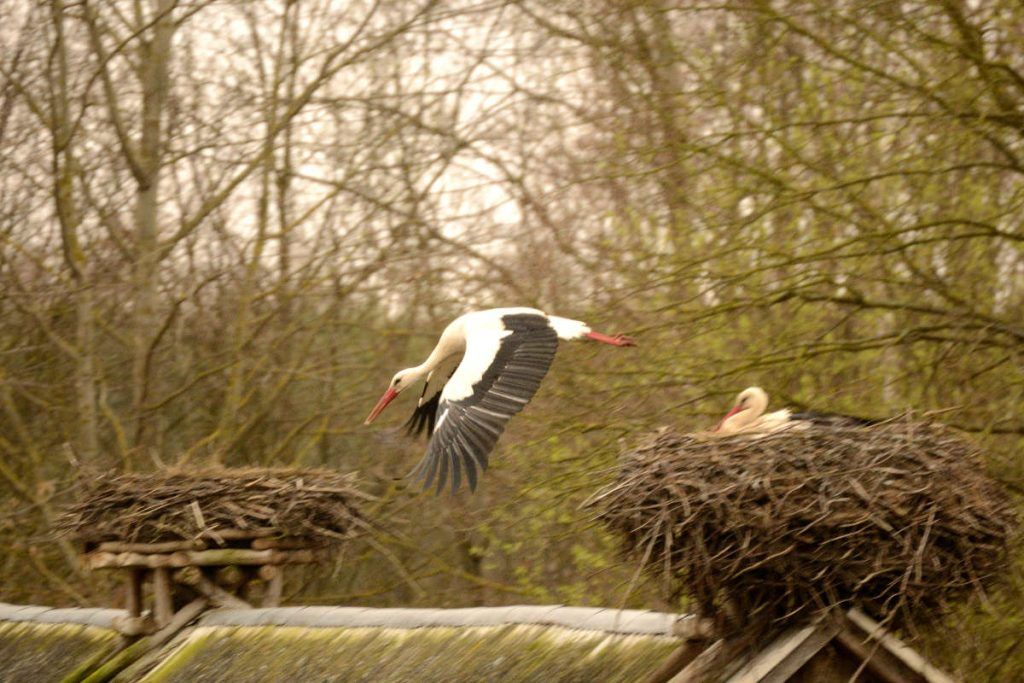
As I mentioned before, you don't need a mortgage to photograph birds, although a good stabilized telephoto zoom lens always helps. All the images in this article were taken with my short 70-300mm telephoto lens, and sometimes I wish I had something more powerful. But that doesn't stop me from going out and enjoying my passion and hobby of nature photography.
It's clear that if our hobby is a hobby, a simple zoom lens (preferably up to 300mm) will serve us well to take attractive and attractive photographs. If we want to take our hobby a step further, we'll have to do our research before purchasing a large telephoto lens, as there aren't many (reasonably priced) options on the market, and of course, we'll first have to see which ones are compatible with our camera.
As a general recommendation: a 200mm lens may fall short against wild animals, unless they're large mammals that allow us to approach them without fleeing. A 300mm lens (as the photos in this article attest) can be a good option for most wild animals and large birds. But if you're photographing small birds in forests or shy animals that we can't easily approach, you'll need to invest a little more money in a 400, 500, or even 600mm zoom.
These are the basic tips for photographing birds. Finally, I'll leave you with a few tips that can also be useful for nature and wild animal photography.
Friends, now all that's left is to go out and enjoy our passion for animals and nature. I'm sure that with practice and applying these essential tips, we'll get better shots in no time.
Greetings and happy weekend.